Survivability: Hull, Shields, and Resistance
DPS gets most of the attention, but a build that dies mid-fight doesn't put out any DPS at all. This guide covers what actually keeps you alive, and a couple of common survivability instincts that don't pay off the way they seem like they should.
Hull is what actually matters
Your Hull is your ship's real health total. Shields absorb incoming damage first, but once they're down, every hit comes straight off your Hull, and hitting zero means you're destroyed regardless of how strong your shields were a moment earlier. Raw Hull capacity is a direct, uncapped stat: more of it is always more of it, with no diminishing returns to worry about.
Shields: capacity versus regeneration
Shields regenerate on their own over time, and different shield array types trade capacity for regeneration speed in opposite directions: a Covariant array has higher maximum capacity but regenerates more slowly, while a Regenerative array regenerates faster but starts with less capacity. Neither is strictly better; it depends on whether you'd rather have a bigger buffer or one that refills faster between hits.
Shield Hardness is a separate stat from Hull's Damage Resistance below: it reduces incoming damage specifically against your shields, at a rate of 0.2% resistance per point.
Damage Resistance has a real ceiling
Damage Resistance Rating reduces the percentage of incoming damage you take, but it doesn't scale linearly. Each additional point buys you less than the last, and stacking Damage Resistance from normal sources asymptotically approaches roughly a 75% cap, never quite a full immunity no matter how much you add. Past a certain point, a console or trait that instead adds raw Hull or Shield capacity is doing more for your actual survival than another source of resistance would.
The thing nobody stacks: threat
Star Trek Online's enemy AI doesn't reliably aim its attacks at whoever's "tankiest" the way some other games do, and the game has very few taunt effects. If you're specifically building to draw fire away from a team, an ability that actually forces enemy attention onto you does more for that goal than piling on more resistance or capacity, which only helps you survive whatever damage happens to land on you already.
Finding out what's actually hurting you
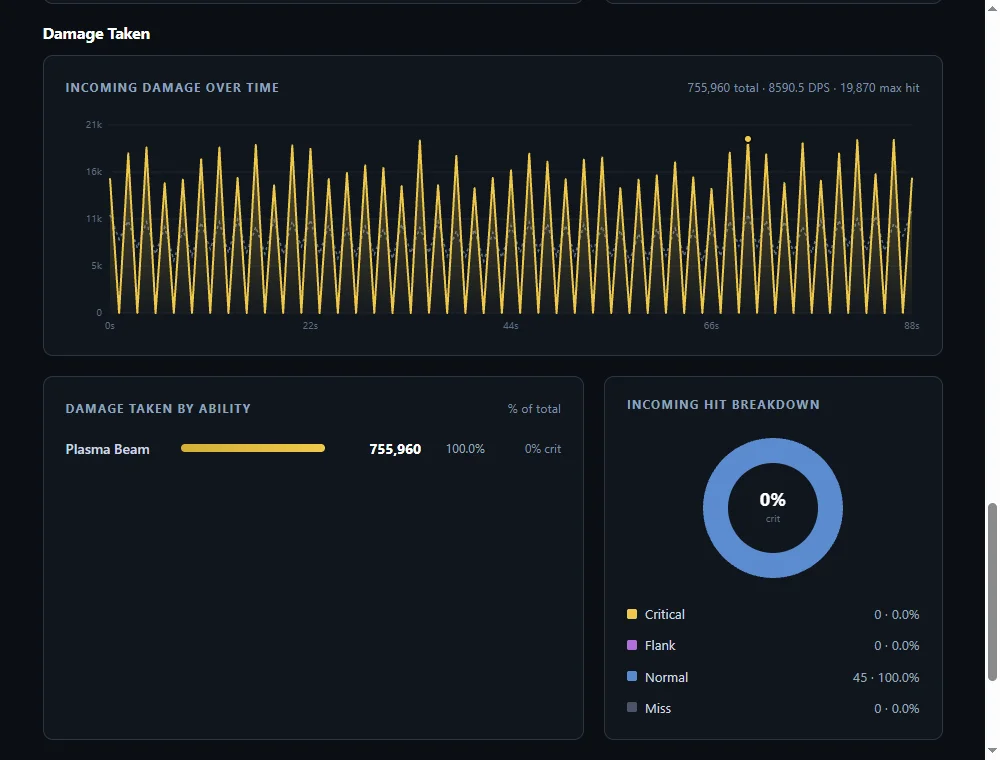
The same record-and-compare approach from Using the Build Planner to Improve Your DPS works here too. The Combat Log Reader's Damage Taken section breaks down incoming damage by ability and by attacker, so instead of guessing at what killed you, you can see exactly what did and test whether a change actually reduced it. See How to Read Your Combat Log Results for what that section shows.